In this topic I will try to share with you basic about Microsoft Power Point 2007. It’s not a full tutorial. I am sharing basic about PowerPoint which will help people those who are new user of this software. After reading and practicing all topics you can able to create, design and animate any presentation beautifully INSHALLAH. Simple read, see the photos and practice. It’s the process of learning by doing.
_ _ _
Let’s Start:After opening MS Power Point 07 this screen will arrive…(Photo 1)
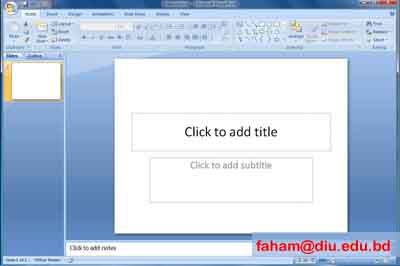
Photo: 1
Click on “Click to add title†and give a title. By same process give a subtitle of the presentation.
Under slider window you can see the list of your slides.
Practice: Give the Title: “My Presentation†and Subtitle: “My presentation’s subtitleâ€
_ _ _
Change Layout of the slide:If you want to change the layout of any slide, right click on the slide, click layout, and change as your need (See Photo 2).
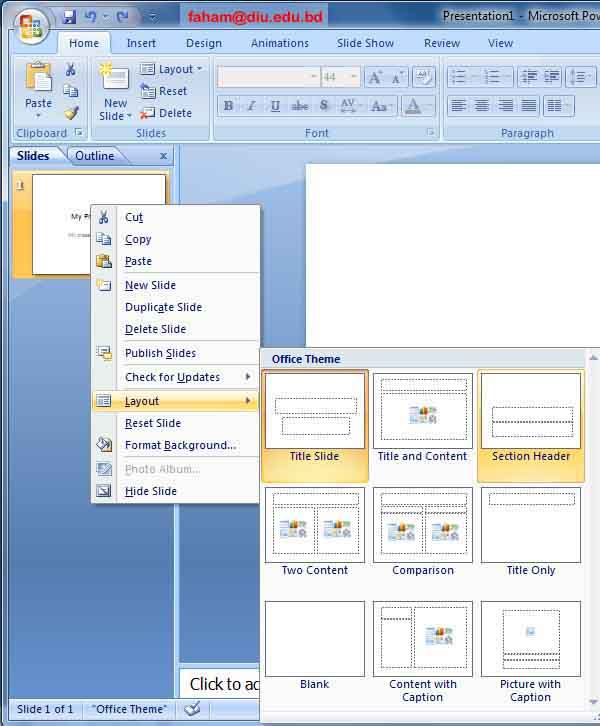
Photo: 2
Right click on your slide select “Layout†and select “Section Header†layout.
_ _ _
Add and Delete Slides:To insert new slide, click on “New Slide†under HOME and select your layout (Photo-3).
You can also able to add new slide by clicking ENTER. Select the point under “Slides†window and click ENTER.
Or, Right click under “Slides†window and click “New Slideâ€.
To remove any slide, select the slide by mouse and click "Delete".
Practice: Insert a new slide with “Title and Content†layout.
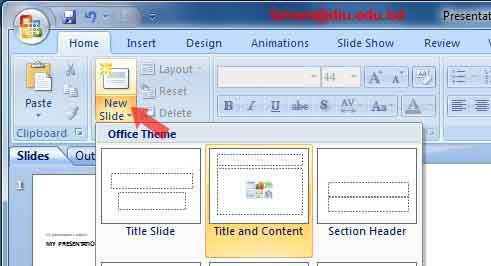
Photo: 3
_ _ _
Use of Outline:
Under this option we can organize the point(s) and sub-points. You can easily promote, demote, move up or move down the points by using outline mode. Practice will clear your concept.
Practice:Under new slide give a title and write some points under the title (Photo: 4). Now go to the
“Outline†view.
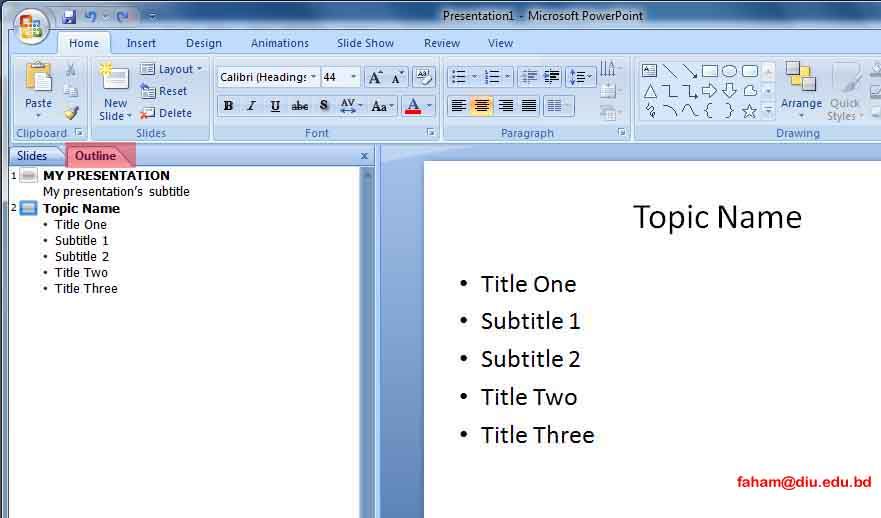
Photo: 4
Suppose, under “title one†there are two subtitles, “Subtitle 1†and “Subtitle 2â€
Mark these two subtitle using mouse, right click, and then select “Demoteâ€. So these two points will show as a sub-point of “Title one.†(Photo: 5)
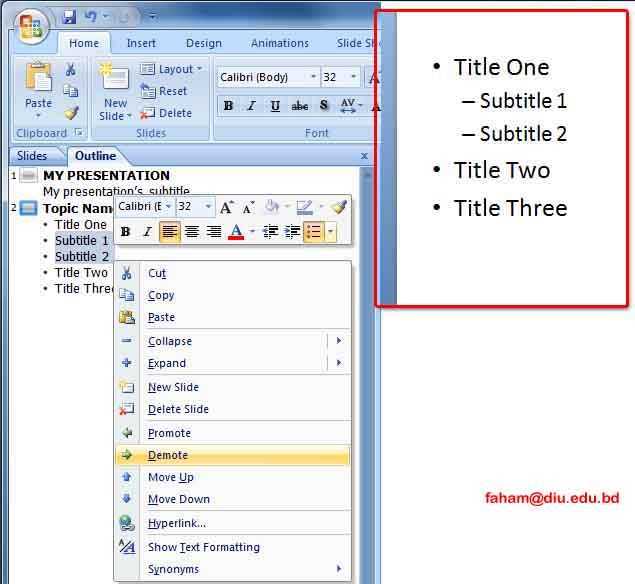
Photo : 5
By same way you can also promote, move up or move down. Just select the point(s) and select any of these options (promote, demote, move up or move down).
_ _ _


